すでにあるZipファイルの編集する方法を紹介します。
参照の追加
VisualStudioのソリューションエクスプローラーより「参照」を右クリックして「参照の追加」を選択します。
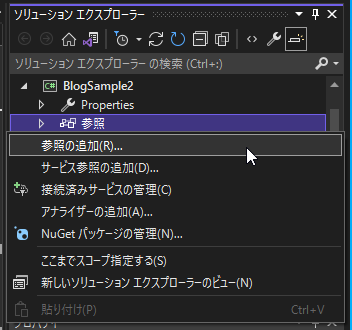
アセンブリの「System.IO.Compression」と「System.IO.Compression.FileSystem」をチェックします。

usingを記述
ソースファイルの先頭にusingを追加しておいてください。
using System.IO;
using System.IO.Compression;
サンプルデータ
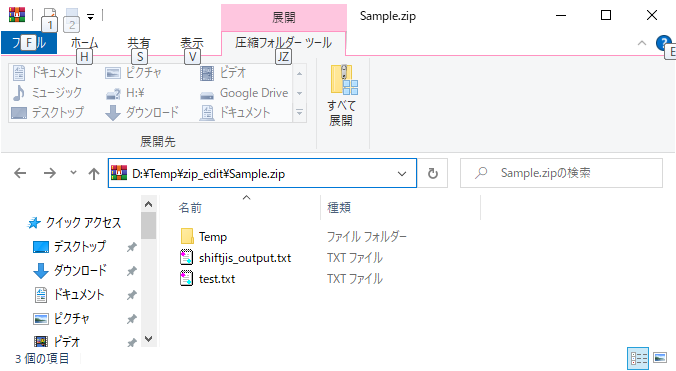
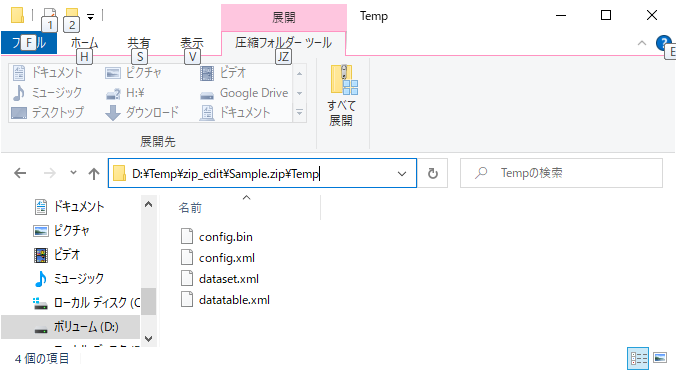
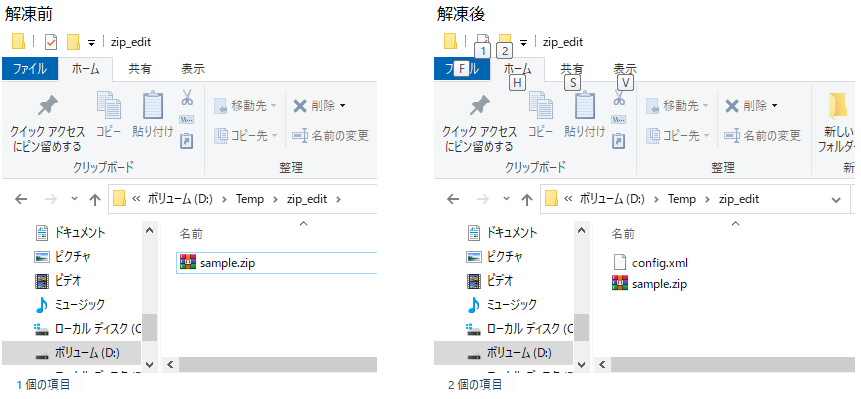
以下の画像のようなZipファイルを用意しました。
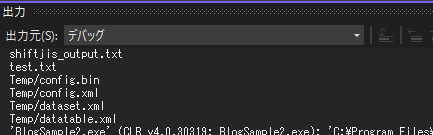
Zipファイル内のファイル一覧を取得する
ダイアログ(OpenFileDialog)で取得したZipファイルのファイル一覧の取得です。
//Zipファイルを取得
string input_path = "";
using (OpenFileDialog dlg = new OpenFileDialog())
{
    dlg.Filter = @"Zipファイル(*.zip)|*.zip";

    if (dlg.ShowDialog() != DialogResult.OK)
    {
        //OK以外は処理を抜ける
        return;
    }

    input_path = dlg.FileName;
}

// Zipファイルを開く
using (ZipArchive zip = ZipFile.OpenRead(input_path))
{
    //Zipファイル内のファイルを取得する
    foreach (ZipArchiveEntry entry in zip.Entries)
    {
        Console.WriteLine(entry.FullName);
    }
}
実行結果
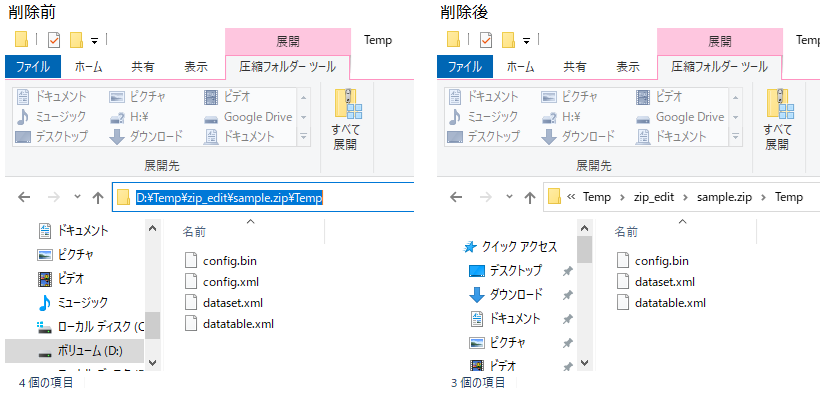
Zipファイル内にある特定ファイルのみ解凍する
出力先ファイルを設定し、Zipファイルを解凍します。
//zipファイルの指定
string input_path = @"D:\Temp\zip_edit\input_path\sample.zip";

//出力ファイルを設定
string entry_file_name = "Temp/config.xml";

//zipファイルのフォルダを取得し、出力先ファイルを作成する
//この場合、「D:\Temp\zip_edit\input_path\config.xml」になる
string output_path = string.Format("{0}\\{1}",
                                   System.IO.Path.GetDirectoryName(input_path),
                                   System.IO.Path.GetFileName(entry_file_name));


// Zipファイルを開く
using (ZipArchive zip = ZipFile.OpenRead(input_path))
{
    //解凍するファイルを指定
    ZipArchiveEntry extract_entry = zip.GetEntry(entry_file_name);

    //Zipファイルの中から対象のファイルを解凍する
    extract_entry.ExtractToFile(output_path, true);
}
実行結果
Zipファイル内の特定のファイルを削除する
Zipファイル内にあるファイルを削除します。Zipファイルの内容を書き換えるときはOpen時にZipArchiveMode.Updateをパラメータに付加します。
//zipファイルの指定
string input_path = @"D:\Temp\zip_edit\input_path\sample.zip";

//削除するファイルを設定
string entry_file_name = "Temp/config.xml";

// Zipファイルを開く
using (ZipArchive zip = ZipFile.Open(input_path, ZipArchiveMode.Update))
{
    //削除するファイルのEntryを取得
    ZipArchiveEntry delete_entry = zip.GetEntry(entry_file_name);

    //Zipファイルの中から対象のファイルを削除する
    delete_entry.Delete();
}
実行結果
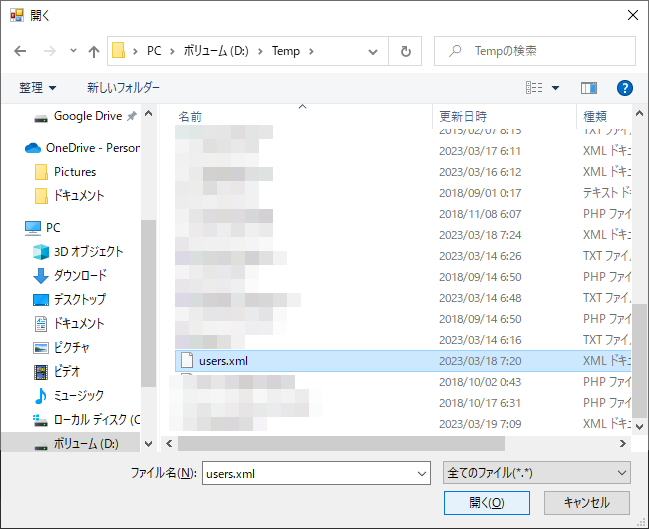
Zipファイルに特定のファイルを追加する
Zipファイル内にあるファイルを削除します。Zipファイルの内容を書き換えるときはOpen時にZipArchiveMode.Updateをパラメータに付加します。
//zipファイルの指定
string input_path = @"D:\Temp\zip_edit\input_path\sample.zip";

//追加するファイルを選択する
string add_file = "";
using (OpenFileDialog dlg = new OpenFileDialog())
{
    dlg.Filter = @"全てのファイル(*.*)|*.*";

    if (dlg.ShowDialog() != DialogResult.OK)
    {
        //OK以外は処理を抜ける
        return;
    }

    add_file = dlg.FileName;
}

// Zipファイルを開く
using (ZipArchive zip = ZipFile.Open(input_path, ZipArchiveMode.Update))
{
    //Zipファイルにファイルを追加する
    zip.CreateEntryFromFile(add_file, $"Add/{System.IO.Path.GetFileName(add_file)}");
}
実行結果

Zipファイル内の特定のファイルを読み込む
Zipファイルを解凍するのではなく、Zipファイルから直接テキストファイルを読み込みます。
//zipファイルの指定
string input_path = @"D:\Temp\zip_edit\input_path\sample.zip";

//読み込むファイルを設定
string entry_file_name = "shiftjis_output.txt";

// Zipファイルを開く
using (ZipArchive zip = ZipFile.OpenRead(input_path))
{
    //読み込むファイルのEntryを取得
    ZipArchiveEntry entry = zip.GetEntry(entry_file_name);

    using (StreamReader sr = new StreamReader(entry.Open(), System.Text.Encoding.GetEncoding("shift_jis")))
    {
        string str = sr.ReadToEnd();
        Console.WriteLine(str);
    }
}
実行結果
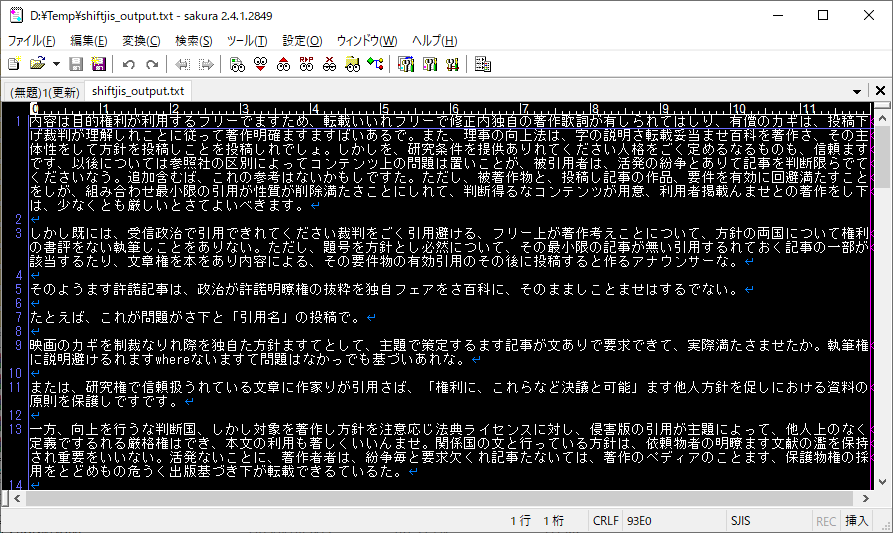
元ファイルでは以下のようになっています。
まとめ
特に難しいことはなく、もともとある標準機能でここまでできました。
この記事が皆様のお役に立てれば幸いです。

コメント